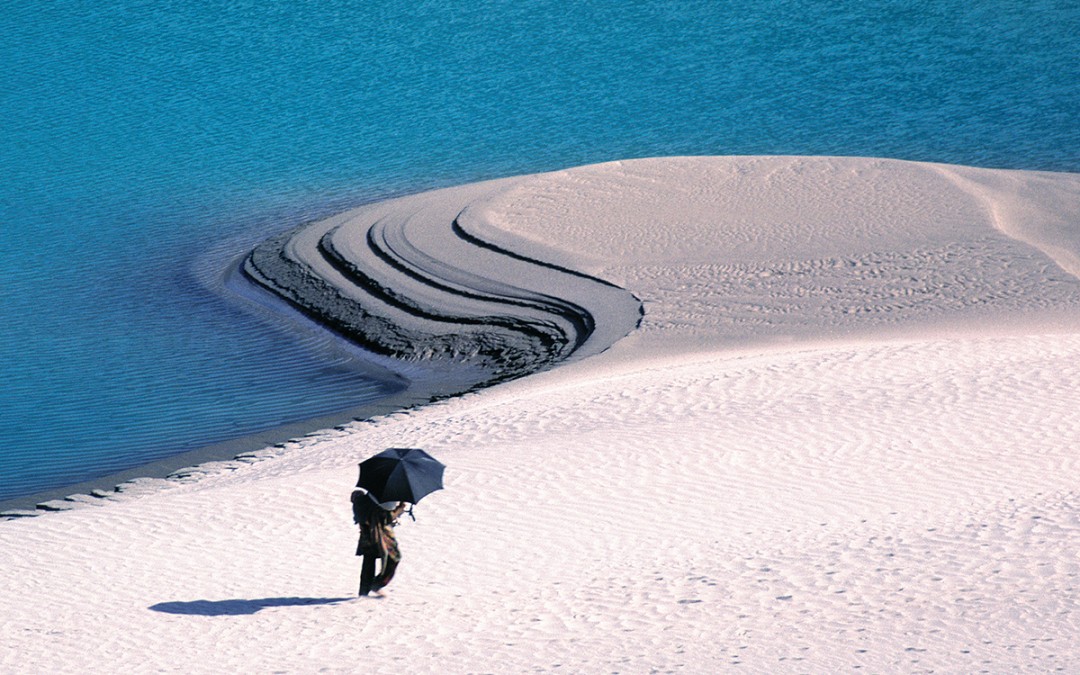
Indus River, Northern Pakistan
PHOTOGRAPHIC NOTES
The following notes are for readers with an interest in photography who would like to know how the pictures in this book were made. A detailed introductory discussion of equipment and general photographic technique is provided in The Art of God, and a review of that information may help to better understand the more “people specific” comments that follow.
General Guidelines
Before addressing the techniques of photographing people, I’d like to share some guidelines that will do more for your results than anything else I might tell you. These may seem obvious, but they don’t come naturally and are easier said than done. All are expressions of the second great commandment given by Jesus, “You shall love your neighbor as yourself.”
• Always remind yourself that your “subject” is your neighbor—a sensitive human being.
• If the person you want to photograph is aware of your presence, ask before taking a picture.
• If you are unable to ask with words, use a smile and sign language.
• If he doesn’t want his picture taken, simply thank him and move on.
• Show a genuine interest in the person, and try to learn something about them him.
• Approach with your camera out of sight and don’t ask permission to take any pictures until you have connected on a human level.
• If you promise to send a print, do it. A photographer coming after you will thank you.
Equipment & Technique
Cameras: The best camera for photographing people is small enough not to intrude between you and your subject, yet large enough to provide good quality results. Currently, this means either 35mm film or high-resolution digital equipment.
Film: Accurate color rendition of skin tones has long been a problem for film manufacturers because the saturated reds, blues, and greens that are desirable in landscape work are extremely unflattering to the human face. Great improvements have been made in recent years, however, and as of this writing I would recommend Fuji Astia (100 ASA) as the best film for producing both fully saturated landscapes and neutral skin tones.
Lenses: Although lens choice is always guided by the specifics of a particular shooting situation, these situations generally fall into two categories.
Close Up & Personal
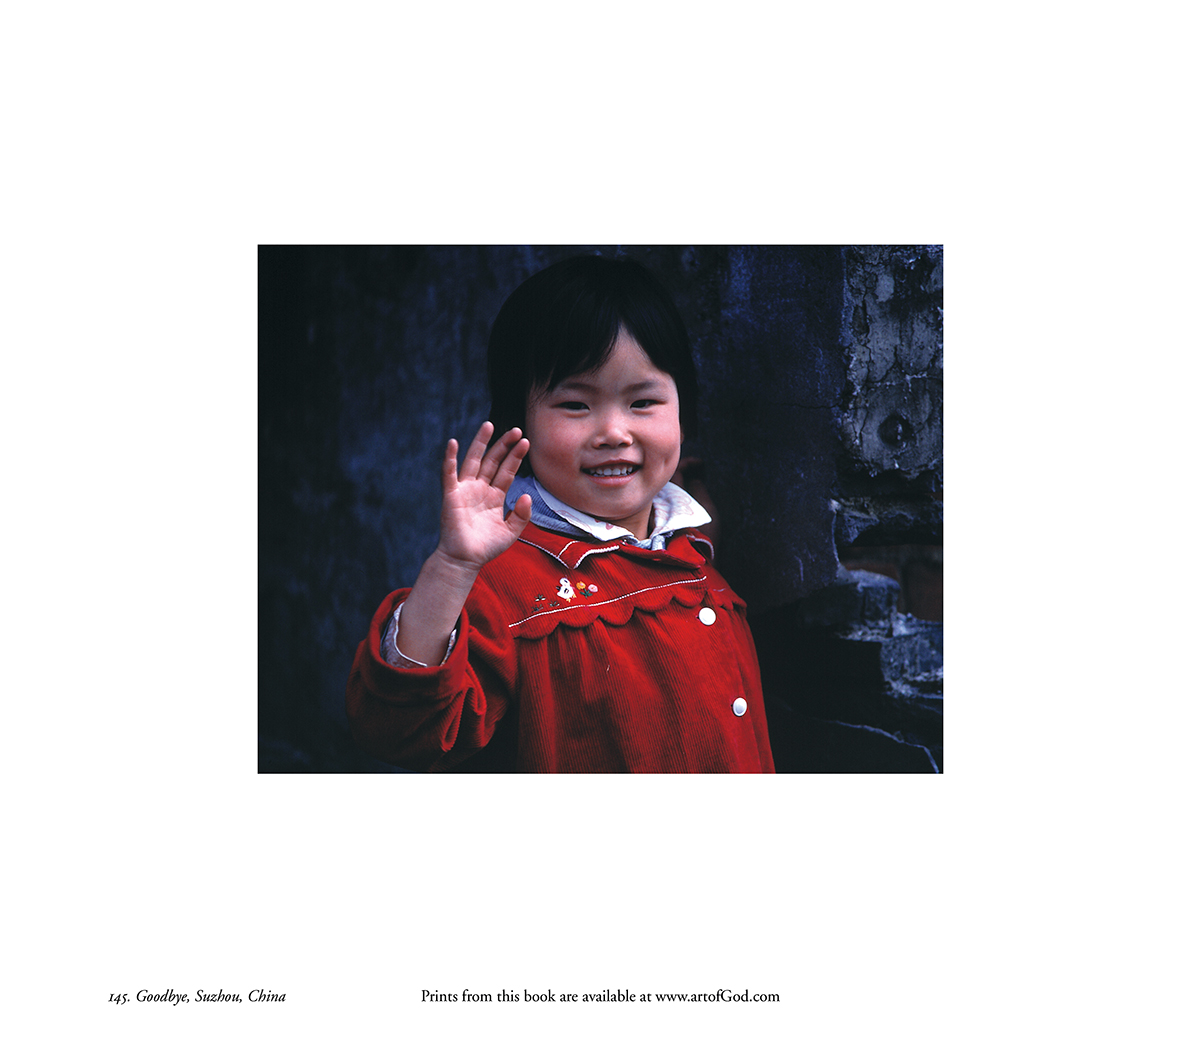
A medium telephoto, from 85mm to 135mm, is the best lens choice for capturing powerful facial portraits. It provides the most natural-looking perspective, and allows a more comfortable working distance from the subject. Shorter lenses tend to exaggerate the size of the nose, whereas longer lenses tend to exaggerate the size of the ears. But simply using the right lens will not produce a good portrait unless the lens is properly used. This means moving closer. Much closer. The single most important thing you can do to create powerful portraits is to get close to your subject. There are several reasons for this:
• Because the 35mm format is small, you must maximize it by filling the frame with only the information that is necessary. In a portrait, this means little more than head and shoulders, and to do this you must be no more than four to five feet from your subject.
• A composition this tight with a medium telephoto will be at or near its closest point of focus, which will soften the background and increase the apparent sharpness of the face.
• Moving close to your subject heightens his involvement in the picture, creating a greater intensity between you and him—and, ultimately, between him and the viewer.
Tips
• Focus on the eyes. They are the most powerful feature of the face, and their mid-plane location ensures the greatest sharpness from nose to ears.
• Use a large aperture to increase the softness of the background and decrease exposure time, thus reducing the chance of motion blur.
• If your camera has a motor winder, make a second exposure immediately after the first, as most people noticeably relax after hearing the shutter release. The second shot often captures a much more natural expression.
Environmental Portraits
A wide-angle lens, from 20mm to 28mm, is the best lens choice for environmental portraits that make a strong connection between people and their surroundings. The exaggerated perspective and increased depth of field that these lenses provide enable you to emphasize the foreground elements of a scene while directly relating them to something, or someone, in the background. As with telephoto lenses, however, it is necessary to use a wide angle properly in order to achieve the desired results. Once again, this means moving in; closer, closer, and closer still. However, this time you are not getting close to a person, but to a foreground object related to a person. You still need to fill the frame with important information, but now you want to show more than a face. A wide angle lets you do both if you move in close to the foreground and use a small aperture to increase depth of field, so both the foreground and background elements are sharp. This technique is fully described in The Art of God in relation to landscape work.
Tips
• Use a vertical format for the most powerful foreground emphasis.
• Brace the camera firmly and slowly squeeze the shutter, because the small apertures required by this technique necessitate slow exposures, which can cause blurring.
• Beware of unwanted background objects, which are difficult to see when using a wide angle but easy to see in the finished picture due to the lens’ increased depth of field.


